Premier Fixture and Albert Pro Installation Guide

Step 1
Assemble the Premier Fixture and connect the computer
Use the keys taped to the front of the display to open the Premier Fixture and install the computer into the opening.

Step 2
Assemble the Albert Pro Scanner
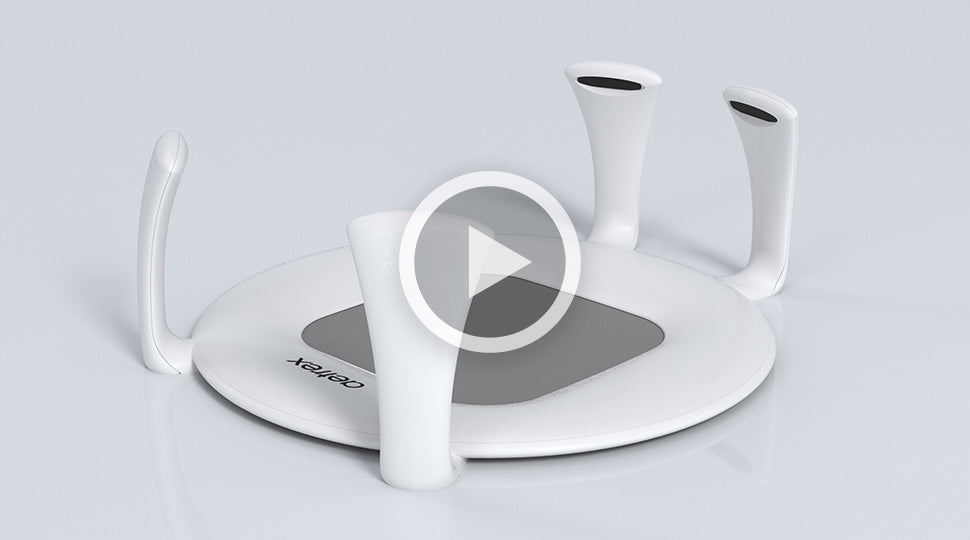
Unbox the scanner and install the four Albert Pro camera towers.

Step 3
Getting Started with the Aetrex Scanner
Learn step-by-step how to complete your first scan and see how it transforms the customer experience.

Step 4
Connect the Albert Pro Scanner to the Premier Fixture
Connect the power cable and both USB cables to the scanner. Turn on the computer first and then the Albert Pro Scanner.

Step 5
Connect your WIFI
Locate the WIFI symbol in the bottom right hand corner of the screen and select the network you would like to connect to.

Step 6
Activate the Albert Scanner software
Turn on the Albert Pro Scanner first, then power on the computer, and the software will launch automatically.


